
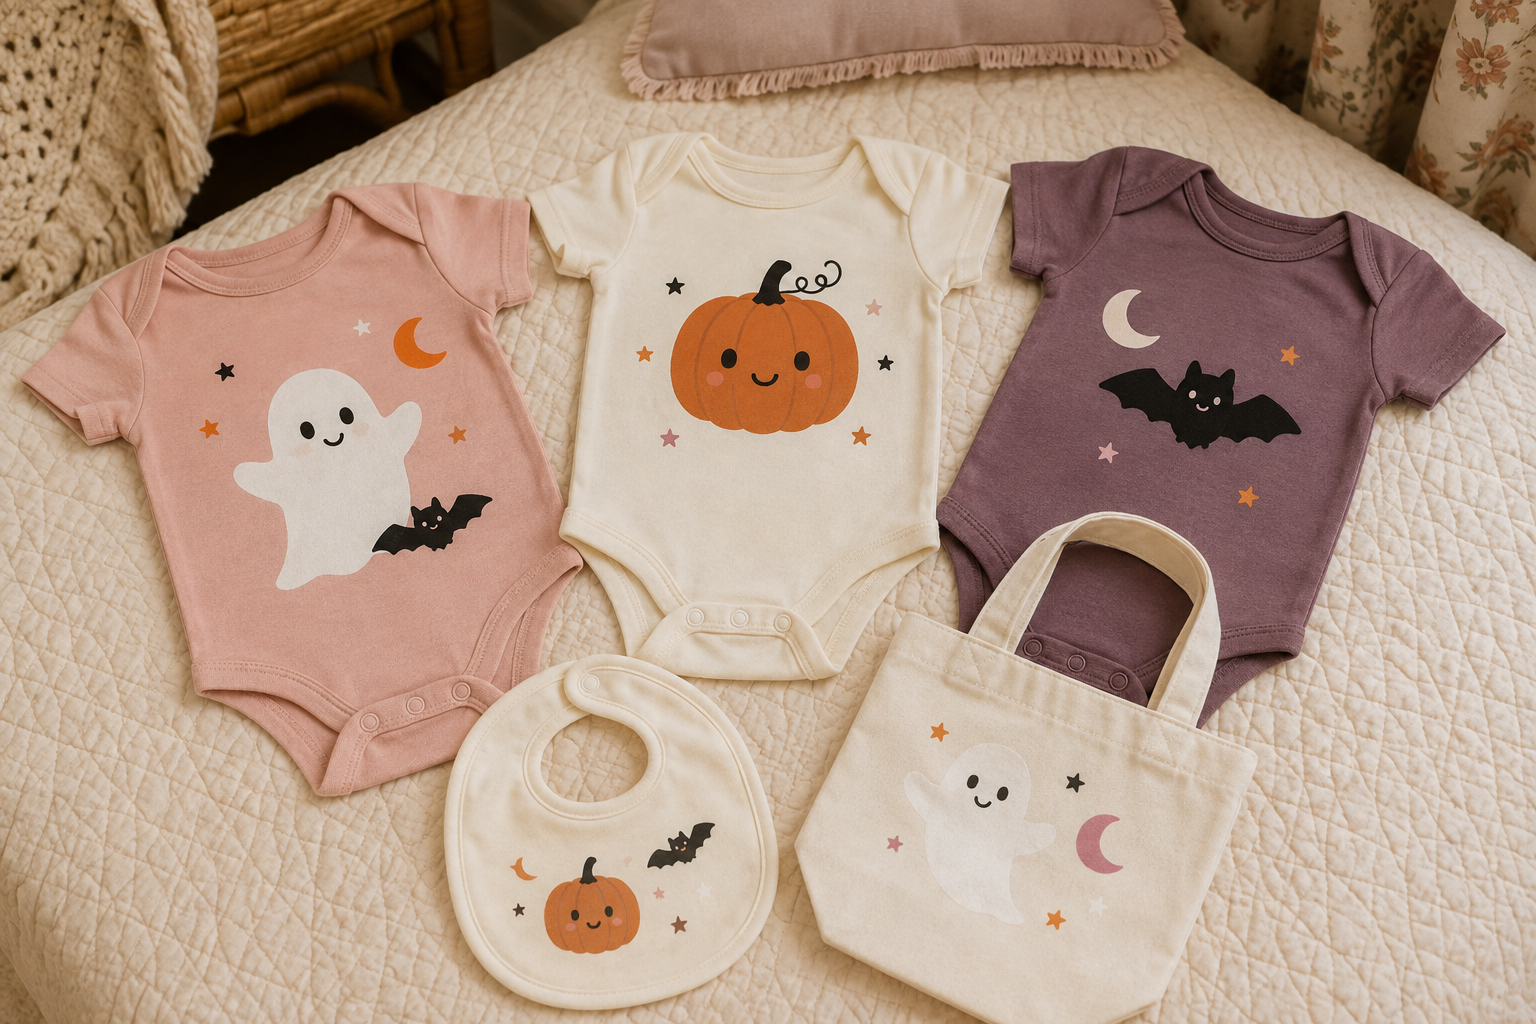
Tiny garments are ideal for batch crafting because every design uses very little material. Choose three related silhouettes and repeat them across a bodysuit, bib, and small tote for a coordinated photo-ready set.
Cricut’s custom baby-clothes guide shows how iron-on can turn simple blanks into personal gifts. The most important choices are a comfortable blank, a correctly sized design, and the heat settings specified for your exact material.
What you’ll need
- Prewashed cotton bodysuits, bibs, or toddler tees
- Cotton mini tote or treat bag
- Quality heat-transfer vinyl
- Cutting machine and weeding tool
- Heat press or household iron
- Heat-resistant mat or folded towel
- Manufacturer heat guide
How to make it
- 1
Prewash the fabric
Wash without fabric softener, dry completely, and press out wrinkles before applying any design.
- 2
Choose three coordinated silhouettes
Use one larger character for the bodysuit and two smaller companions for the bib and bag.
- 3
Measure the usable area
Place the design high enough to remain visible above pants while staying clear of seams and snaps.
- 4
Mirror, cut, and weed
Mirror iron-on designs before cutting and remove small interior pieces slowly.
- 5
Press by the material guide
Use the exact time, temperature, pressure, and peel method listed for the vinyl and fabric combination.
- 6
Let it rest before washing
Wait the recommended time, then wash inside out on a gentle cycle to protect the design.
Ways to make it yours
Put a different silhouette on each child’s shirt using the same vinyl color.
Add the year beneath the design and pair it with a matching keepsake bag.
Use printable cardstock designs as nursery art or milestone-photo cards.
Inspiration & further reading
This is an original Klean Kut Halloween Crafts project inspired by approachable techniques shared across trusted craft and home sources. Explore Cricut custom baby clothes guide and Cricut material-selection guide for more ideas and technique background.