
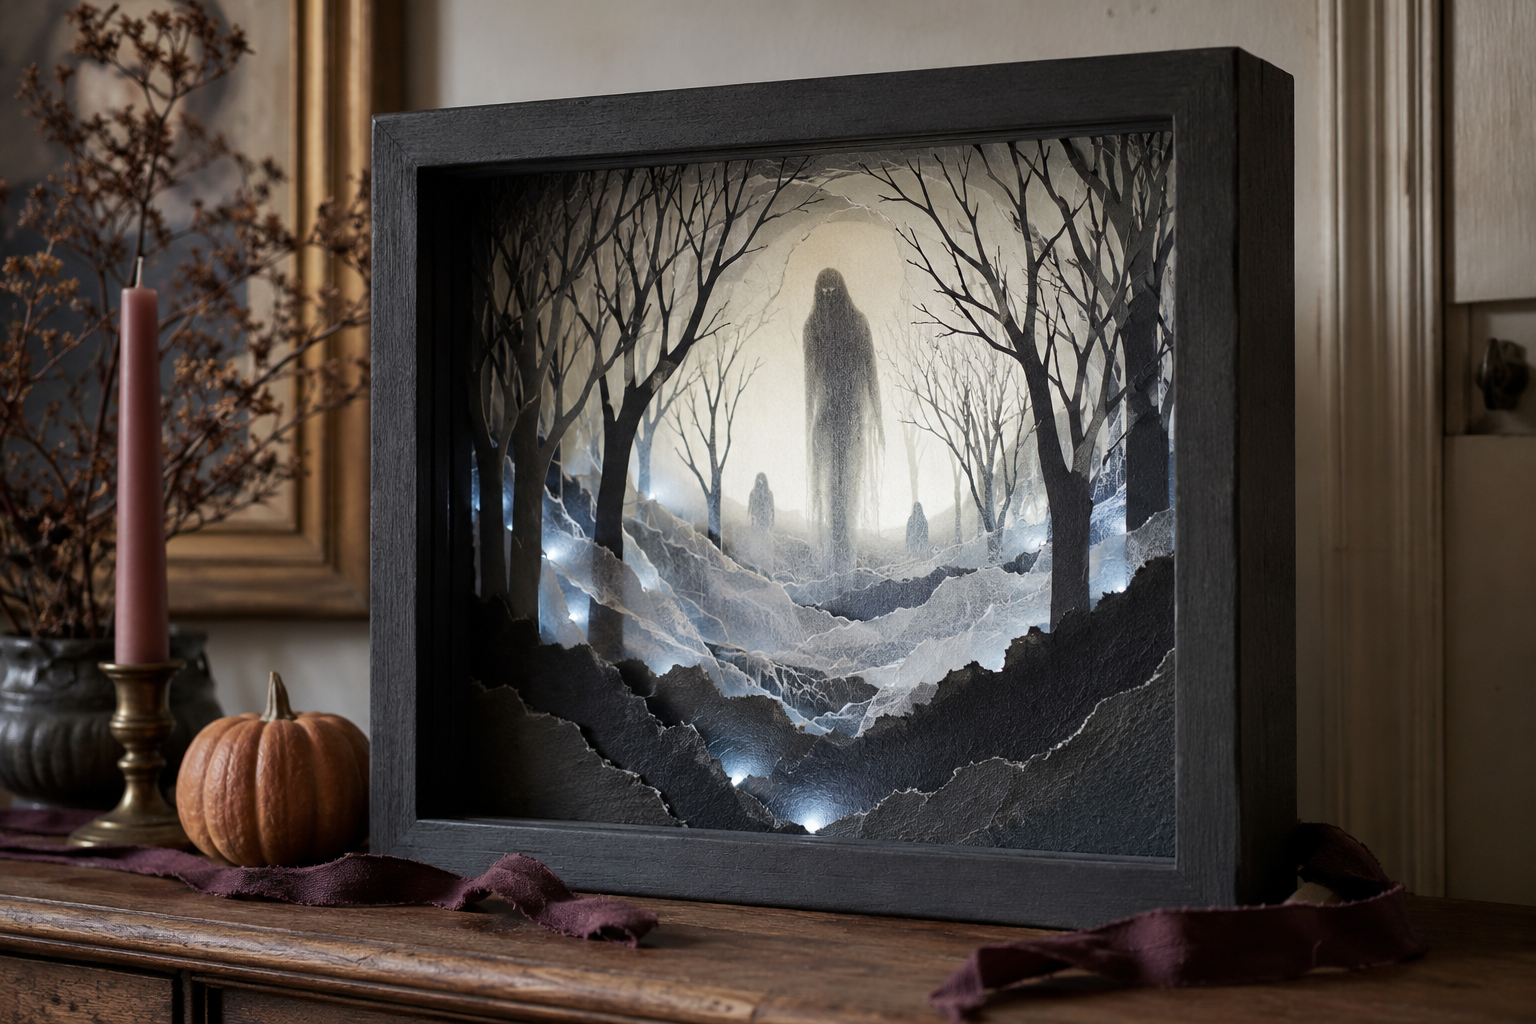
Depth in a paper shadow box comes from spacing, not complicated drawing. Place the darkest silhouettes at the front, soften the middle with vellum, and fade the background toward pale gray.
HGTV’s shadow-box gallery projects demonstrate how inexpensive boxes can become dimensional wall art. Cricut’s home-décor guide also recommends silhouettes and layered paper for personalized Halloween displays.
What you’ll need
- Deep shadow-box frame
- Black, charcoal, gray, and cream cardstock
- Two or three sheets of white vellum
- Foam adhesive squares or narrow foam tape
- Monster graphics and bare-tree silhouettes
- Craft knife, cutting mat, and ruler
- Optional battery-operated micro LED strand
How to make it
- 1
Plan five depth layers
Use a pale background, distant trees, vellum fog, monster silhouettes, and a dark foreground frame.
- 2
Cut the distant scenery
Keep background trees thin and gray so they recede visually instead of competing with the monsters.
- 3
Tear the fog edges
Tear vellum into low rolling shapes; the soft irregular edge reads more like mist than a straight cut.
- 4
Place the monsters selectively
Use one main figure and two smaller partial silhouettes rather than filling every empty space.
- 5
Separate the layers
Use narrow foam tape around the perimeter so each paper layer sits slightly forward from the one behind it.
- 6
Frame and softly light
Close the box and, if desired, hide a cool-running battery micro-light strand behind the outermost paper border.
Ways to make it yours
Use alternating matte black and translucent vellum for strong daylight depth.
Swap gray for tea-stained cream, brown, and faded black.
Divide the scene among three small matching shadow boxes.
Inspiration & further reading
This is an original Klean Kut Halloween Crafts project inspired by approachable techniques shared across trusted craft and home sources. Explore HGTV shadow-box gallery wall and Cricut personalized home décor guide for more ideas and technique background.